Tag Archives: DYI

Quick update and local news

A few readers have asked if I’m still alive and/or building things out of wood.  I’m confirming both to the affirmative.  Thanks for the notes!  I suppose an update is in order.

All_T11s_1

You may have noticed that I just posted a lot of tools on my “for sale” page.  Don’t panic!  I haven’t quit woodworking and I’m not planning to die anytime soon.  I’m just reducing the number of tools that I have in my shop.  After my trip to a LN Hand Tool event, I’ve been hooked.  I’ve been switching over to LN planes (slowly) and I just haven’t been using the Stanleys as often.  I’m the type of person who can not keep things that I’m not using, so these tools can go to new homes if people will give me a fair price for them.

teacher

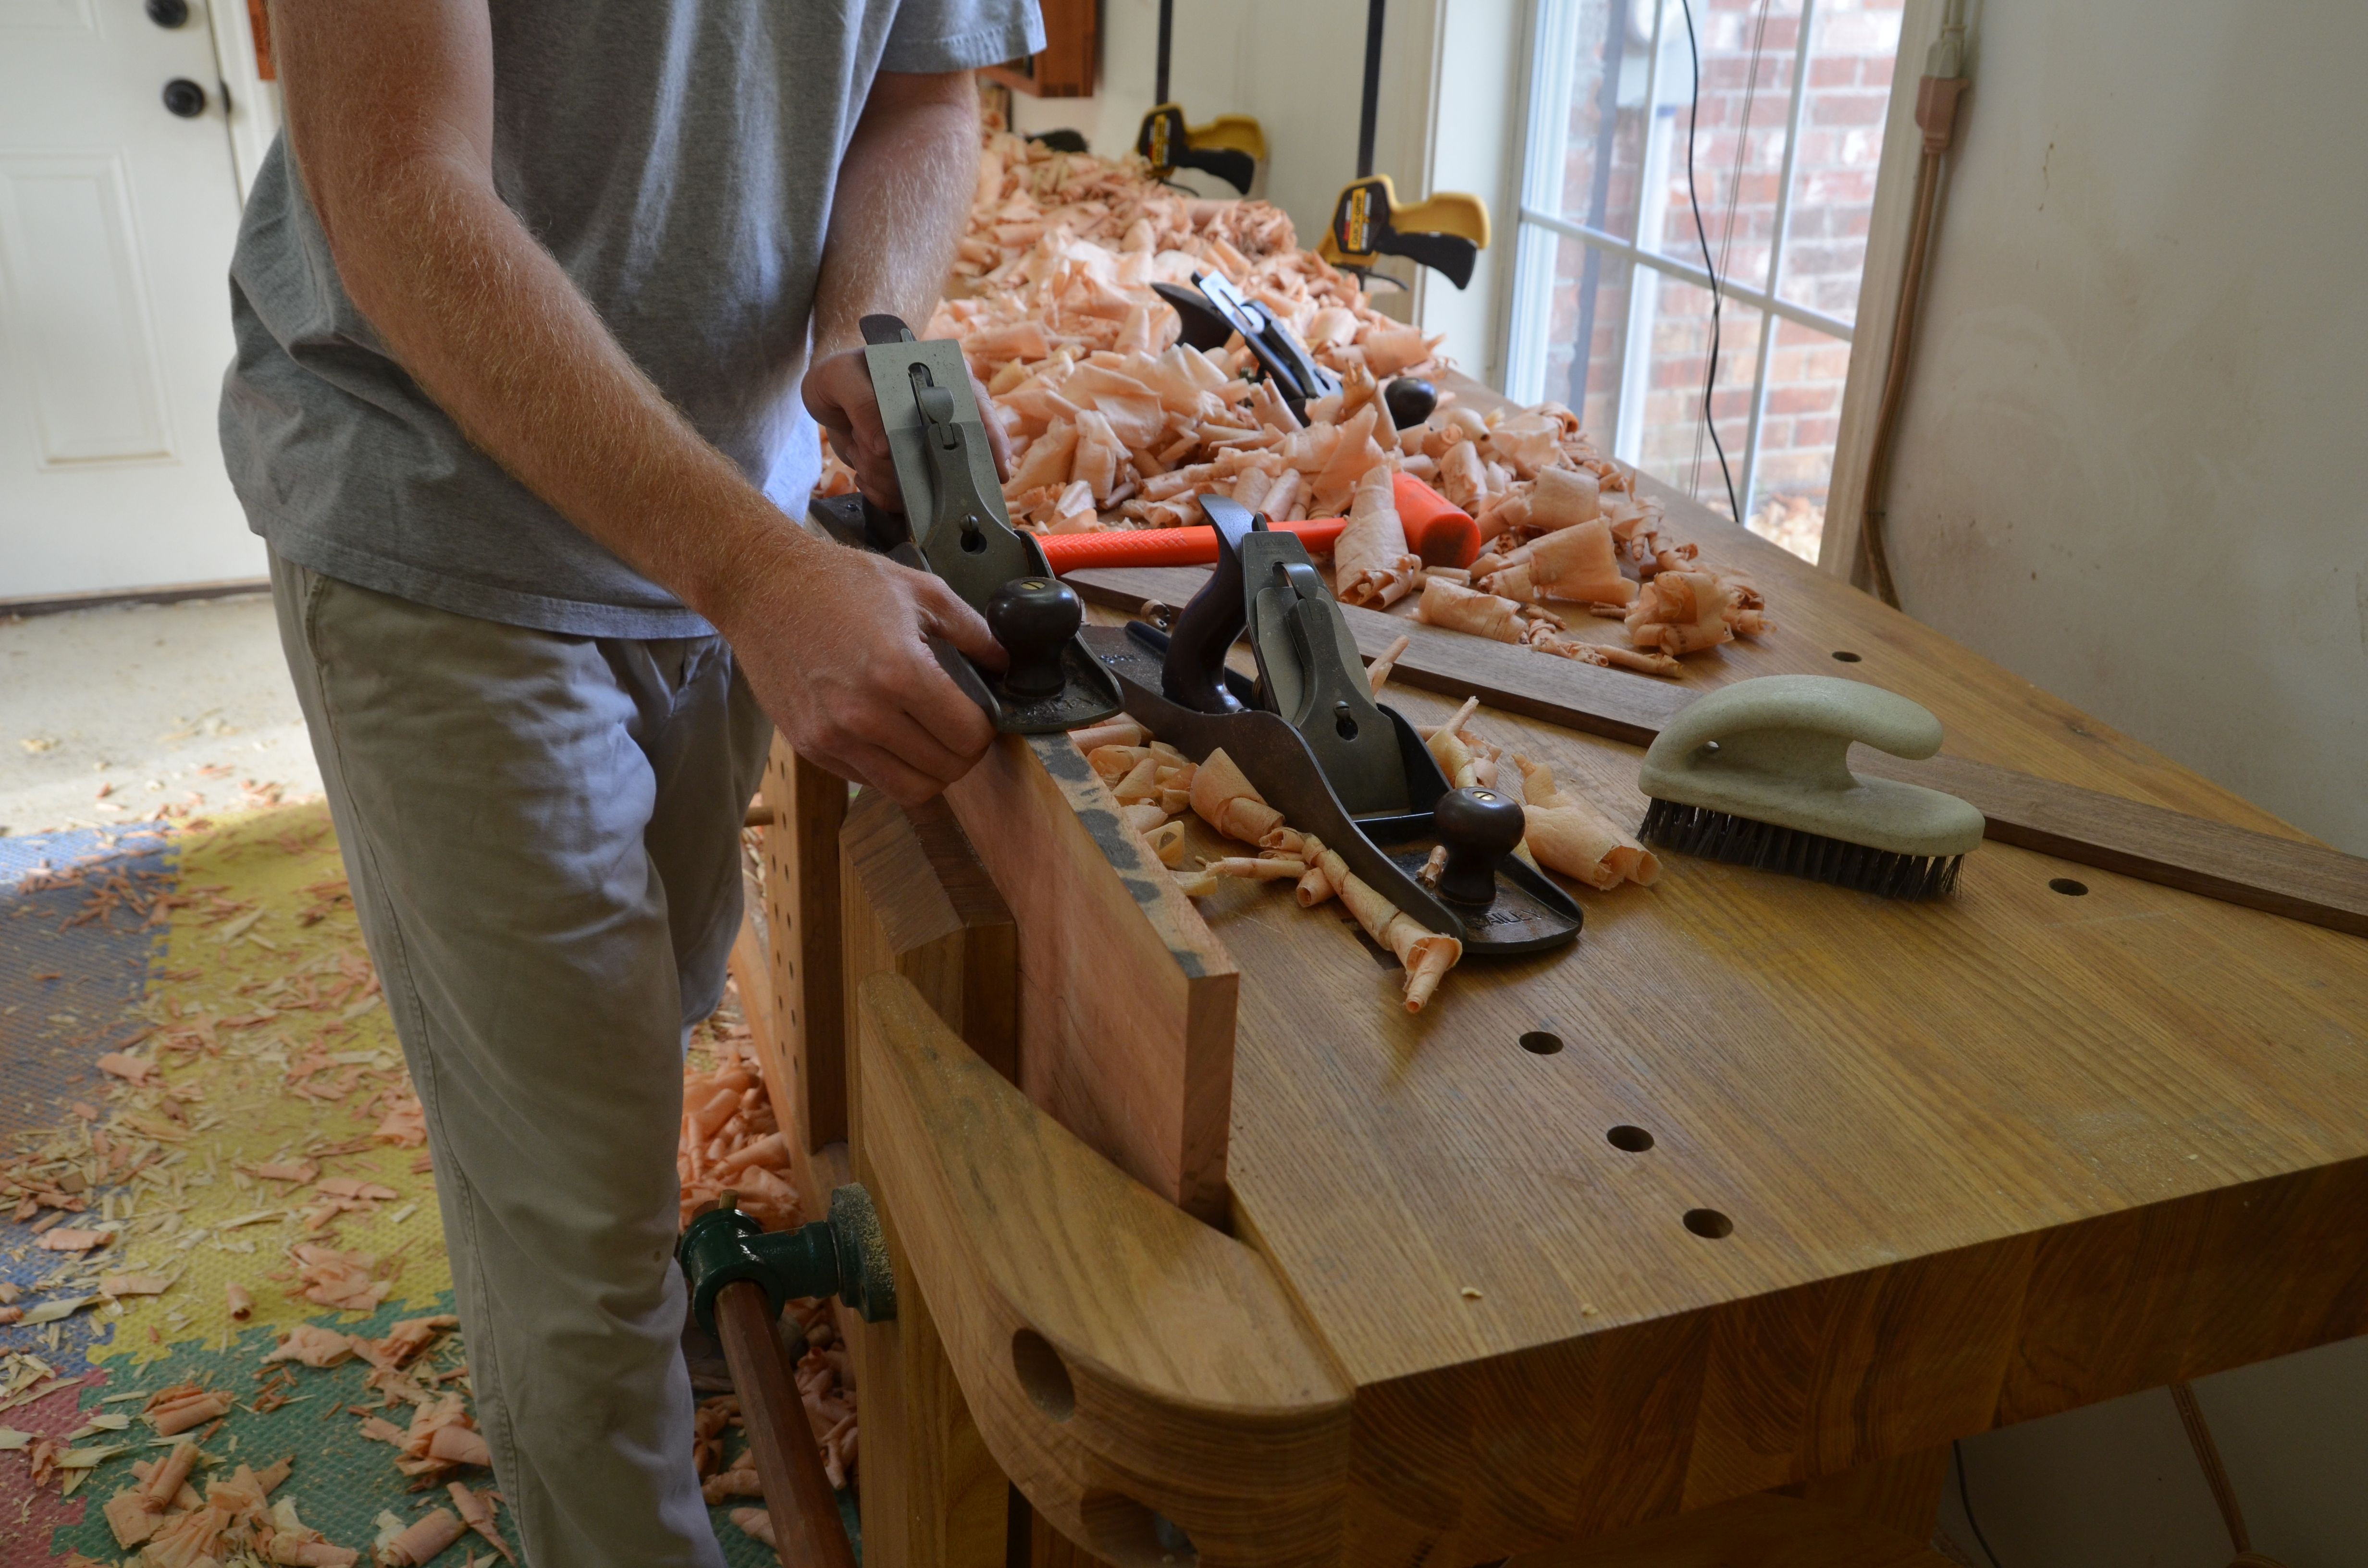
In other news, I’m scheduled to teach another hand plane class at the woodwork shop in Memphis, TN on April 25.  Watch that date – it may change to May.  I hope lots of people turn out because the class is always fun.  I really enjoy introducing people to the experience of using a well-tuned plane.  I never tire of seeing the fun people have when they experience how easy it is to surface wood with a sharp iron and good technique.

Now, for the “update”.  What have I been doing?  My middle daughter (call her K) expressed an interest in robotics a few months ago.  Thanks Disney and Big Hero 6.  I didn’t need much encouragement to pursue this interest since it involves making things and learning about new stuff.  I decided that building drones would be a fun way to teach/learn robotics, so that has consumed most of my shop time recently.

airplane_1 Airplane_4

Daughter (K) and nephew (J) really enjoy their time at the local R/C airfield.

Naturally, I’ve been working on what is called “scratch builds”.  Designing and building toys airplanes is just as fun as building furniture, it’s just a lot more temporary.  One crash and they are done.  I’ve developed a reputation at the R/C airfield for trying crazy designs – that fly a little crazy.

Airplane_3 Airplane_2

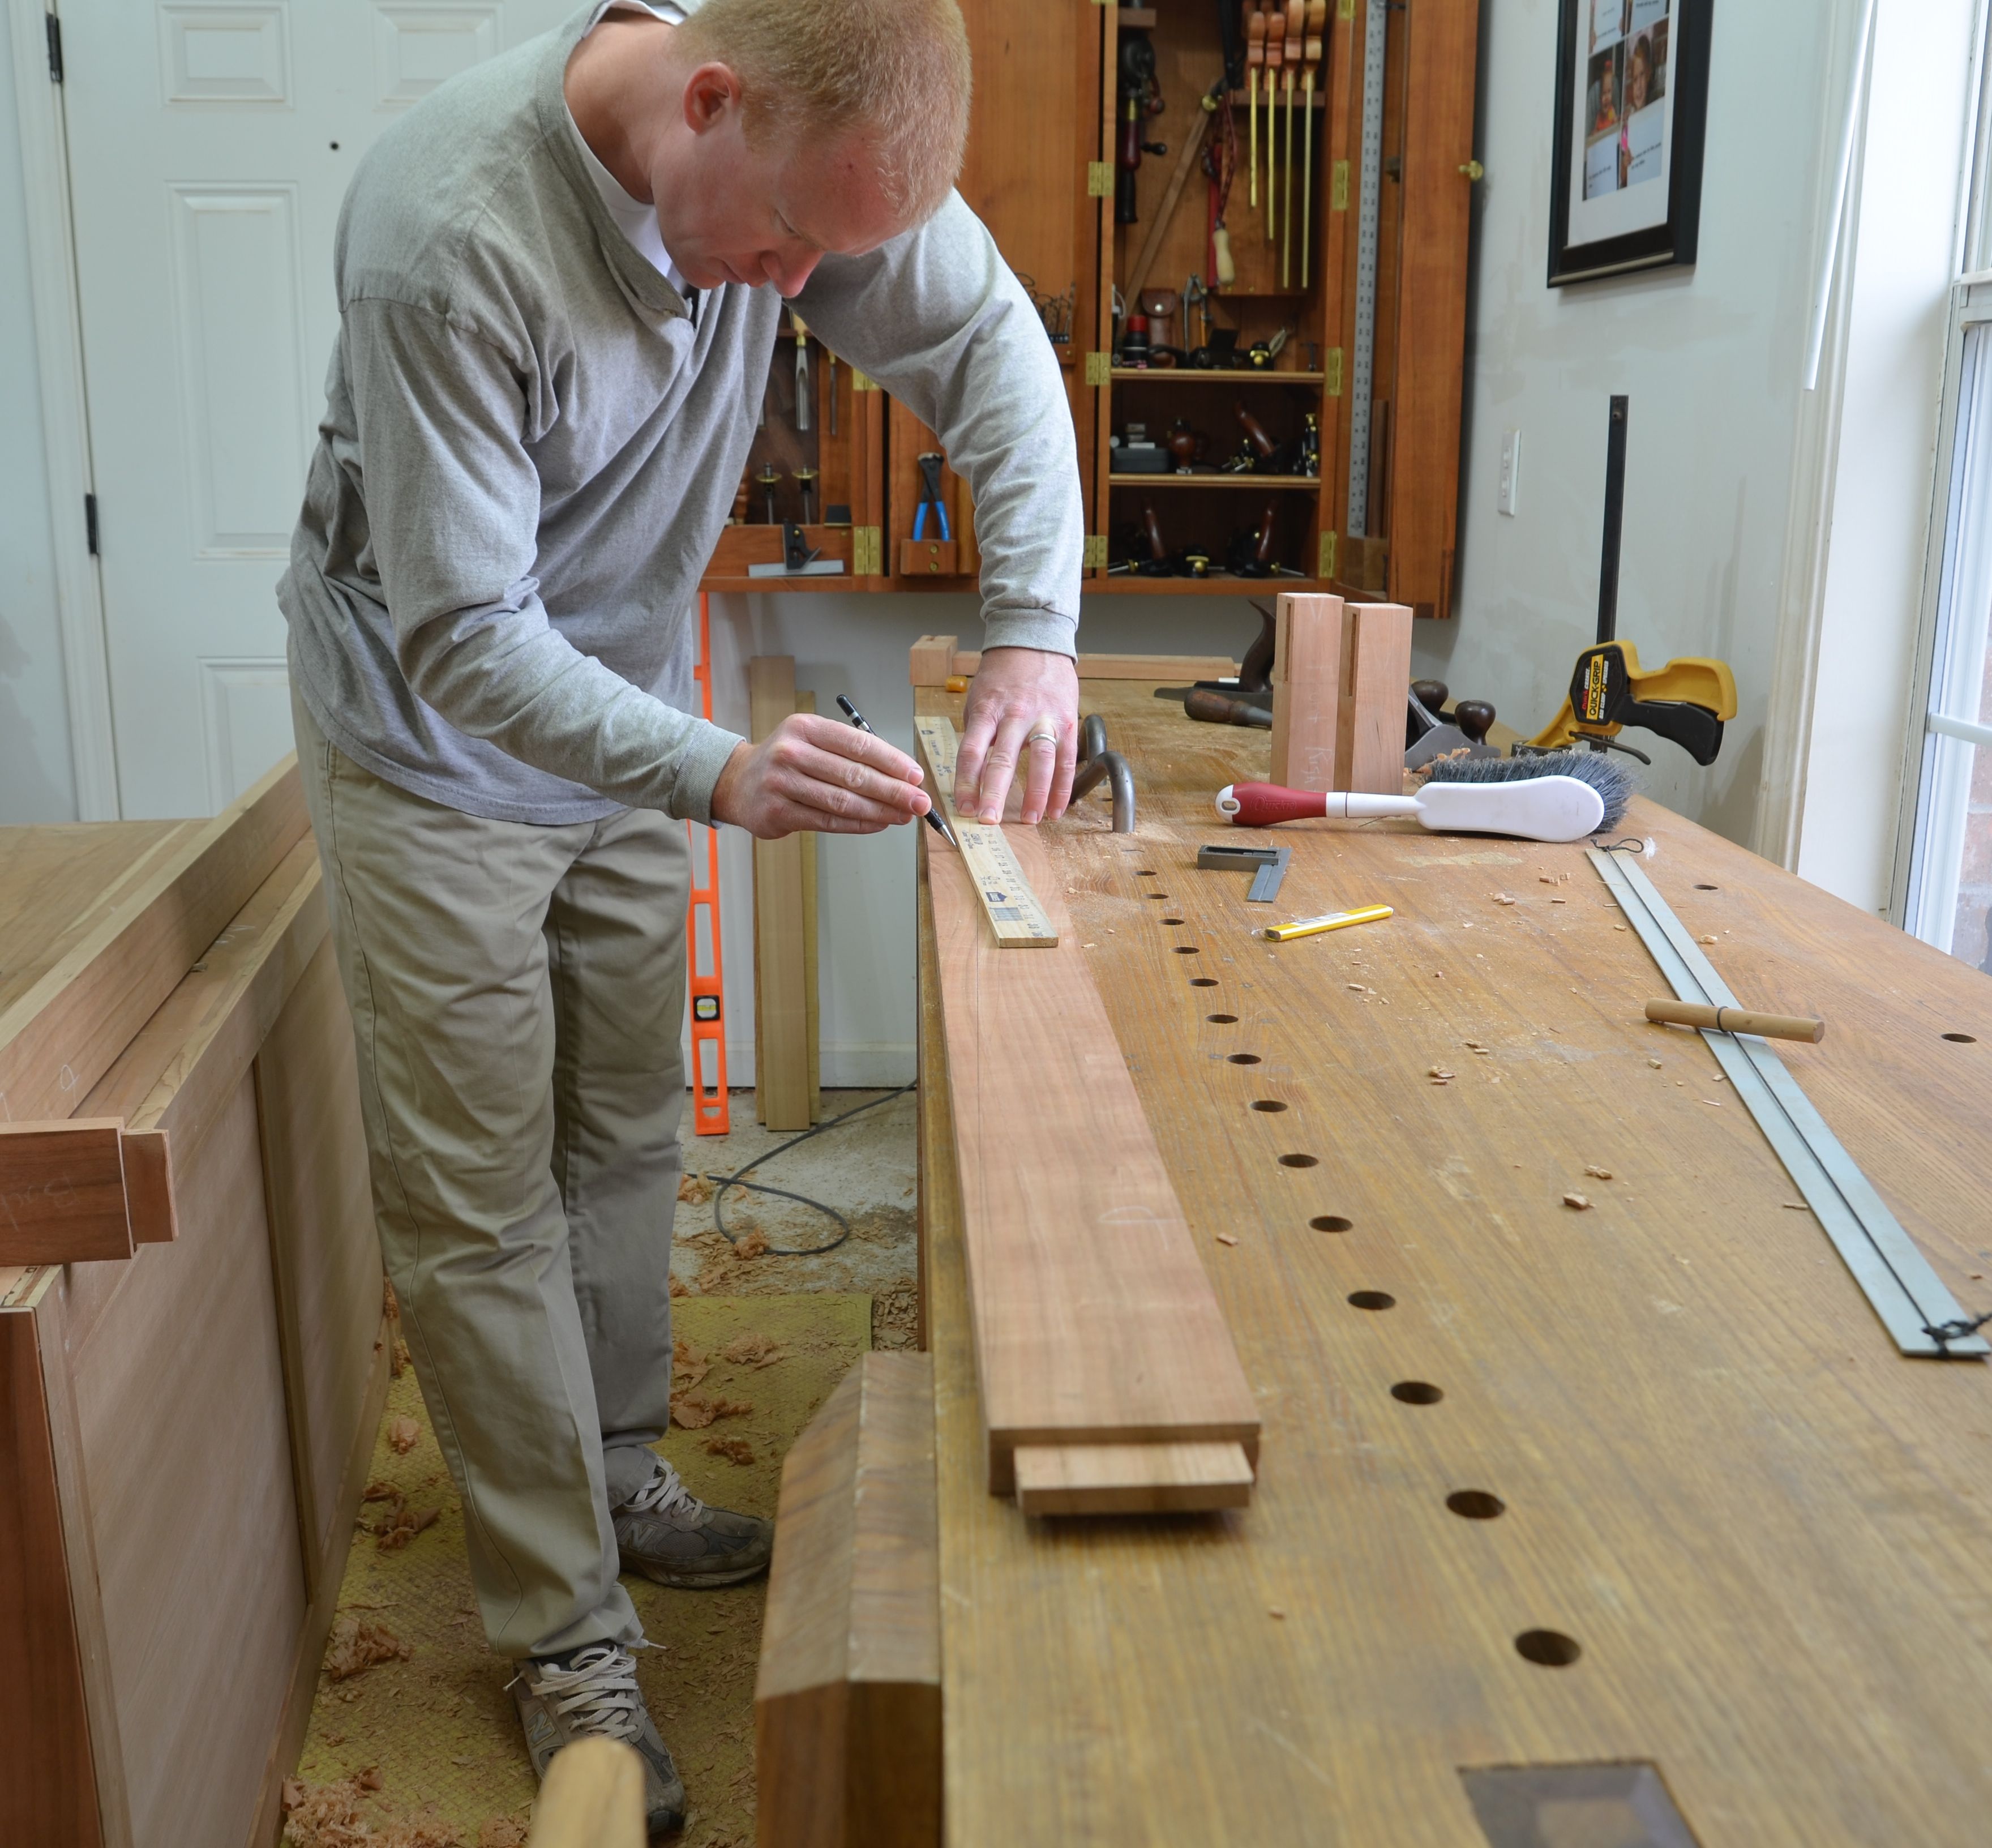
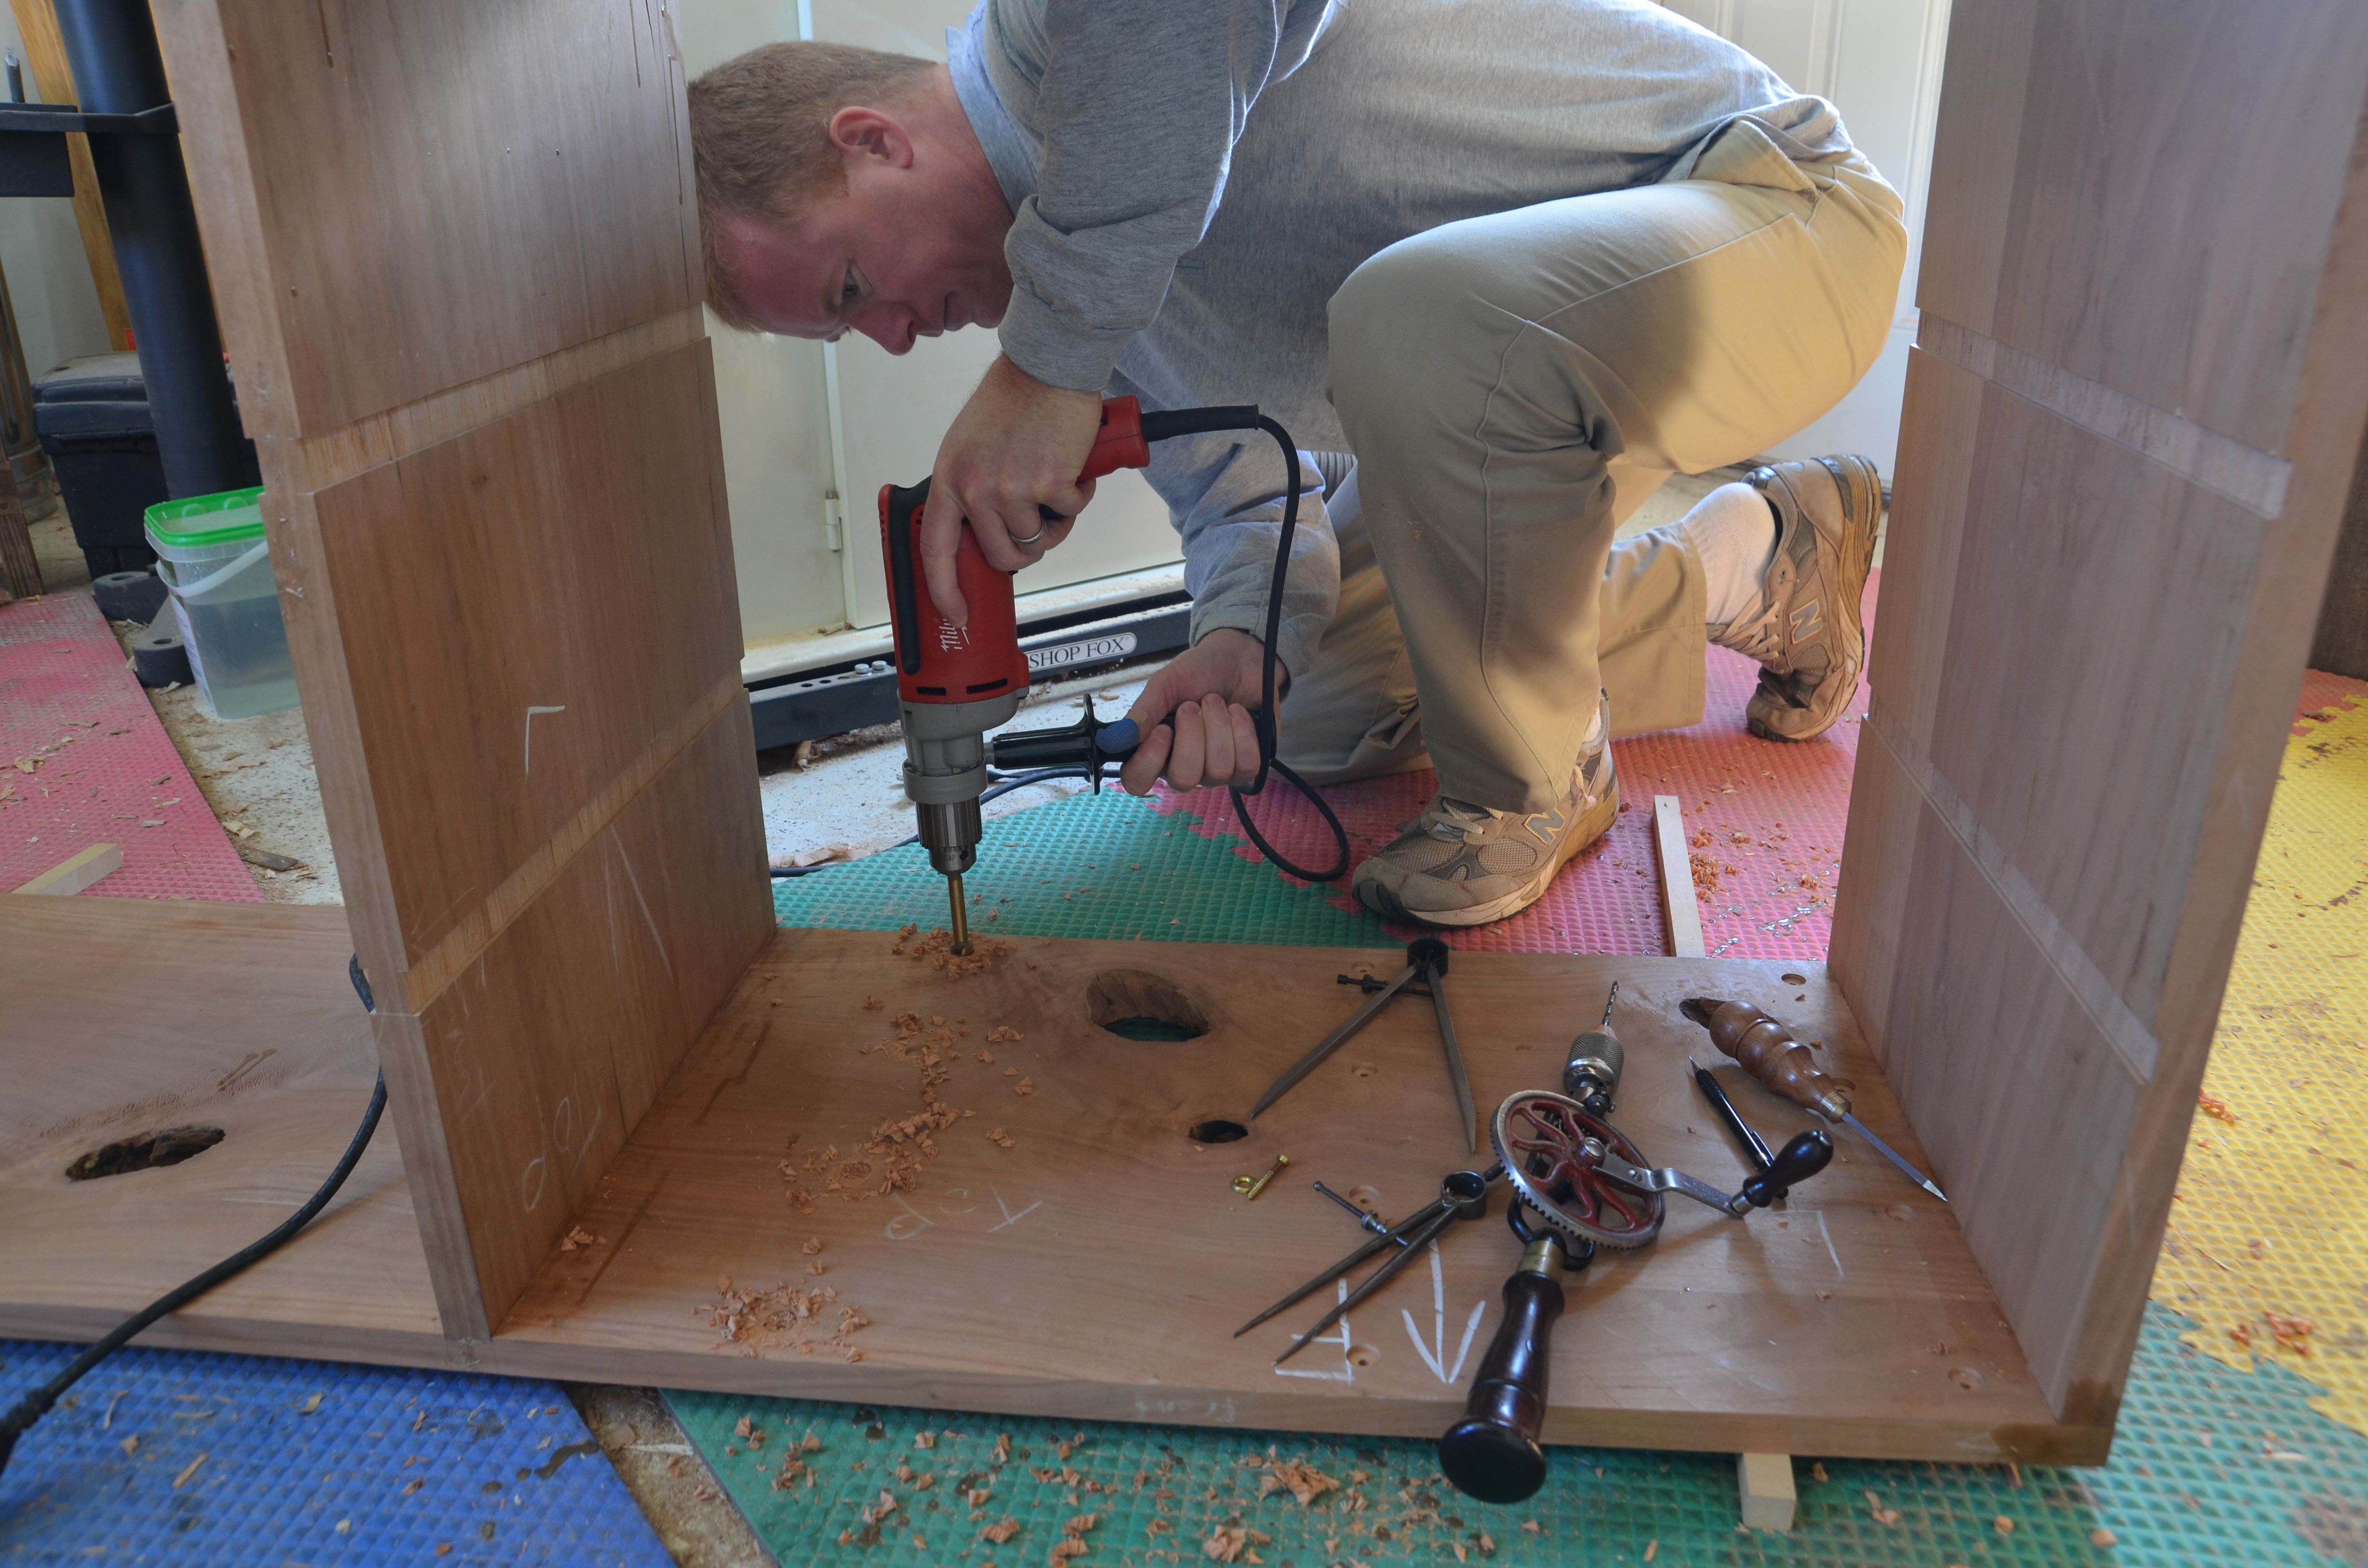
I can testify that a french workbench is also an excellent workbench for other building hobbies.

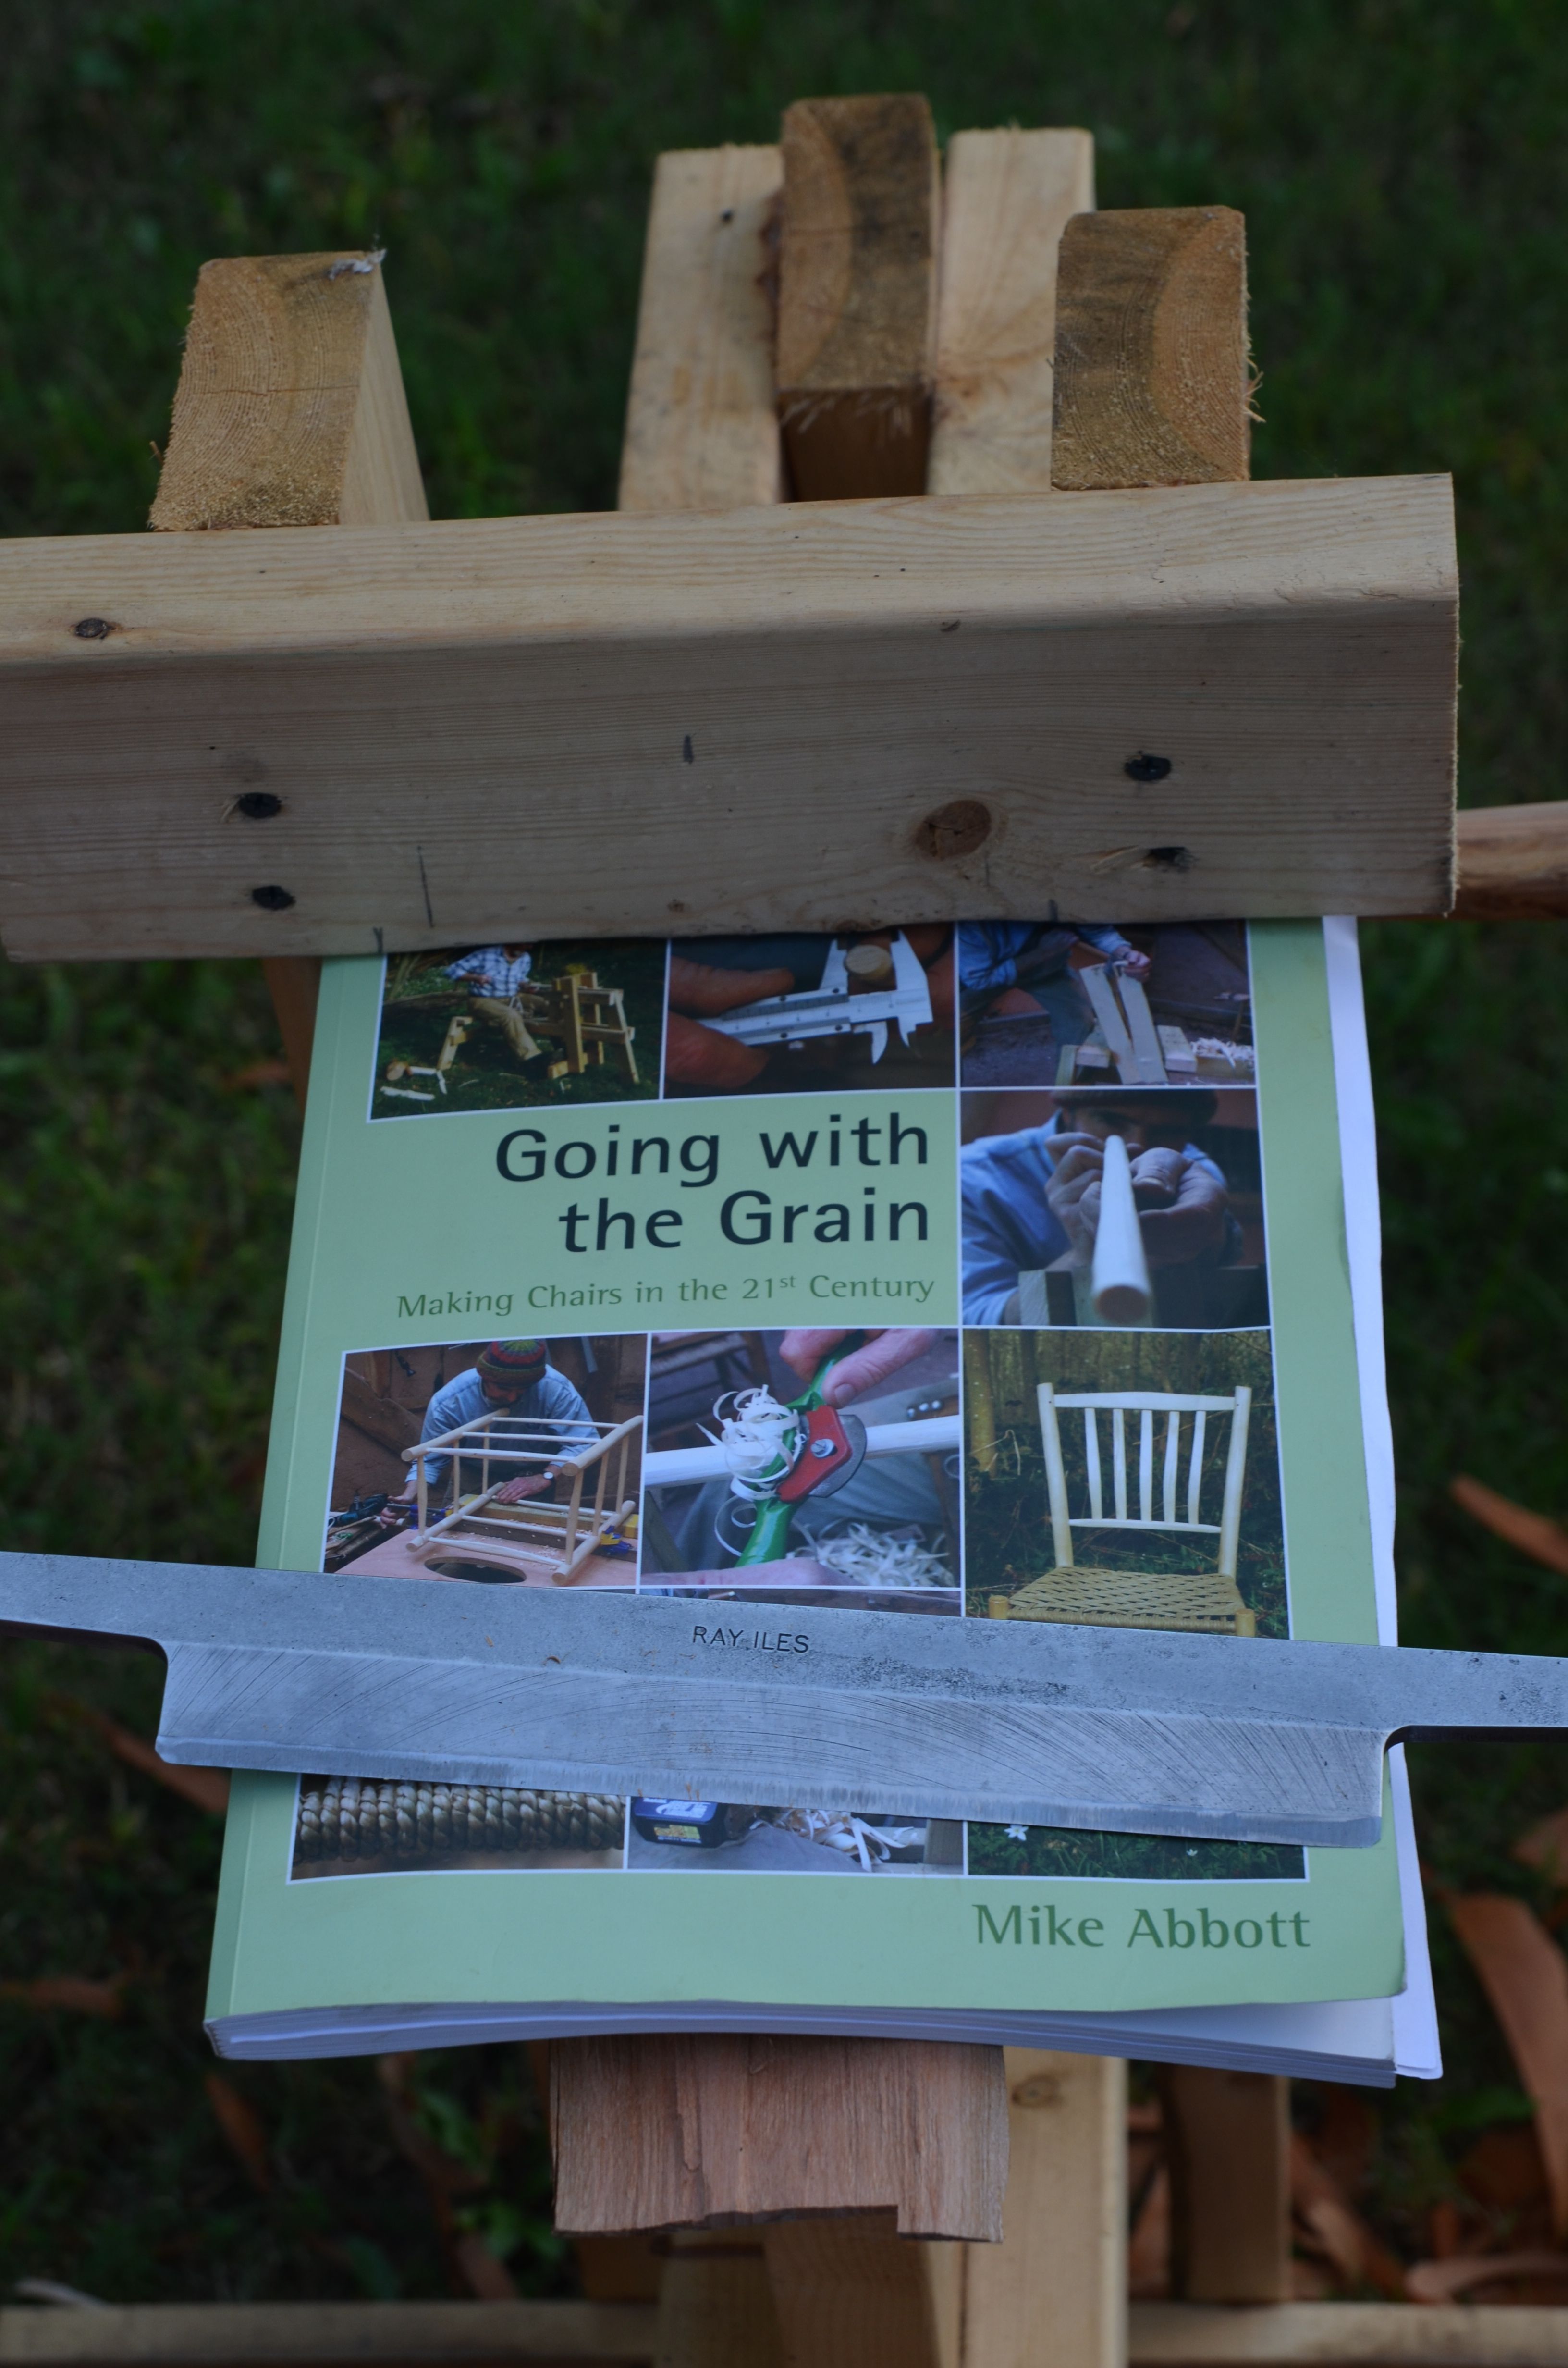
Least you think that I’m done with wood – fear not.  I’ve been working on some “staked furniture” as described by CS in his excellent new book.  I’m reading it now and will post a review when I’m done.  Suffice to say it is excellent and the techniques he describes can make the process of building nice furniture faster and easier than you think.  Buy it.

3_stools

Recent experiemental builds – 2 stools and a staked sawbench

Here are 3 things I’ve built recently as experiments.  The sawbench (far right) is a test of strength.  The legs are only 3/4 inch diameter at the top.  I wanted to test the limits of this staked technique.  It can hold 200 lbs with little trouble, providing the floor is not slippery.  That’s impressive considering how spindly the legs and top are.  It is super light, which is helpful for this shop appliance.  The carved stool on the left was an experiment in carving a seat.  Not great, but still surprisingly comfortable.  The stool in the middle is my best so far.  I plan to build 3 more like it next.  I should be able to do a build series on it, so stay tuned.  I think that’s all I can type for now.

Bob Jones

Thanks, Tim Manney

Manney_horse_1

For freely giving away your design of a great shaving horse.  I just finished building this horse and I have been breaking it in by shaving legs and rungs for a few stools.  This horse is a great improvement over my lumber horse (which is perfectly adequate).  Tim’s design is easy to build, lightweight, quickly adjustable, and grips like a gorilla.

This is not a how-to post from me.  Tim has already taken care of that here.  He has at least 3 posts on the topic and lots of other helpful info on his blog.  I certainly have enjoyed reading all of it (yes, all of it).

Here are a few mods I made from Tim’s horse.

– I used 8/4 cypress for the frame, legs, and platform.  I already had the cypress and it’s lightweight.  I hope it will hold up to normal wear and tear.

– The moving pieces are cherry/walnut from my scrap pile.

– I added about 10 inches to the length of the rails compared to Tim, but after using it a few hours I think shorter would work fine.

One warning – drilling the holes for the hinge pin is the most critical part of this build.  I do all my drilling free-hand (no press) and I messed up every hole the first time I drilled them.  It was a frustrating experience.  Usually I can free-hand holes to be close enough, but the tolerances on these are tight.  I ended up making improvements to my drilling setup that I will post about later.  If you have a drill press, this will not be a problem.

Manney_Horse_3

I added a little leather to the leading edge of the head.  The leather is contained in a shallow rabbet on both faces with a radius to connect them.  No moulding planes here, just a jack plane following an arc drawn with a compass.  This method worked great.  I used lots of tape, spacers, and clamps to glue the leather to the head.  So far, so good.

Manney_horse_2

The seat was my first experiment into seat carving.  The convex contours were shaped with a draw knife and the concave contours were shaped with a homemade “gouge”.  I don’t own any seat carving tools to create a hollow, but I did have a beat-up 1 inch chisel.  I put a radius on the edge (maybe 4 inch?) and used it like a flat gouge.  It worked great for traversing the board (side to side) and left lots of shallow grooves that look fine to my eye.  I still need to add finish, but I’m having too much fun using it right now to stop and smell the oil.

Bob Jones


My Favorite Finish

Finish_1

I think the semi-gloss sheen of cured BLO is just right for natural finish, solid wood furniture.  

My favorite finish hasn’t changed in years and that is probably because I haven’t tried many others.  I’m a low risk maker who prefers to stick with a process that has worked for centuries rather than any product that was mixed from unidentified ingredients.  A steady regiment of Boiled Linseed Oil (BLO) and elbow grease is just the ticket.

I’ve already written on this topic, so read that entry first.  In the time since that entry, I have picked up a few additional tips that have given me more consistent results.


fire

Thanks to my father-in-law for battling the blaze.

– Do not throw your oily (wet) rags in a garbage can.  They WILL ignite.  I lost my (plastic) garbage can this way.  It wasn’t even a hot day.  Since that incident, I dispose of my oily rags in a water filled ziplock bag.  

– After applying finish, try to wipe off everything you just applied.  Seriously, use more than one dry cotton rag and try to wipe it all off.  A thick layer of oil will gel and make a tacky surface.  A tacky surface will need to be removed with lots of forceful rubbing of a fine abrasive until the surface is no longer sticky.  Paper grocery bags and abrasive pads work for this salvage procedure but sandpaper is nearly useless because it will clog very quickly.

Finish_2

– Apply 6 coats of oil or more.  Don’t skimp on this just because the surface looks nice after 2 coats.  It will look much better after 6 coats (or more).

– I wipe the whole surface with a rough cotton towel as the first step of applying a new coat and again as the last step after I have dried the new coat.  This process takes a lot of wiping, but it is not tiring because you do not need to use a lot of force, just a lot of motion.

– Do not apply a new coat if you suspect the previous coat is still wet.  If you have the slightest suspicion that the previous coat is uncured, walk away for at least 24 hours.  Coating over a layer that is not fully cured guarantees a tacky finish.

– Expect this process to take a few weeks.  Sure, there are faster finishes that will work for less patient craftsmen, but I built this dresser over the course of a year and I don’t mind if it takes me a month to get the perfect finish.

Finish_3

The dresser, all finished and ready to be filled with clothes.

Finish_4

The dresser adds the next piece to the bedroom suite.  All that’s left is to replace the department store night stands, but I’ve other projects higher on my build list.  Think green woodworking.  

I hope you have enjoyed this build along.  Writing it up has been a lot of work, but fun.  Who knows, by the time I get ready to build another case piece I may need to refer to my own instructions.

Bob Jones

Complete this dresser!

P2-1

These final bits and pieces will become slips and muntins (centers) for the drawers.

In my last post, I mentioned that my drawer sides are only 3/8 inch thick.  It is a traditional English technique that looks great when the drawers are open and makes the drawer lightweight.  You may think that is way too thin for a full sized drawer side, and I suppose it would be if I didn’t add slips.  The slips double the bearing surface of the drawer slide and house the groove that contains the drawer bottom.

P2-2 P2-3

Slips are easy to produce using a plow plane to make the groove (left) and a jack plane to make it the right size and add the user friendly radius to the top inside edge.

P2-3b P2-4

End gain view of a slip (left) and muntin (right).  The muntin is especially useful for wide drawers because the bottom can be made of two smaller pieces.

Charles H. Hayward said that the parts of a drawer that can come into contact with hands should be rounded as a courtesy to the user.  I planed a radius on the corner of the slips and muntins that will be exposed in the final product.  The radius is not controlled, just made about right by hand and eye.  Making this radius with a jack plane is very fast – be aggressive – no fine shavings here.

P2-5 P2-6

Blurry in the background is a wedge that kept the slip groove in-line with the drawer front groove.  Another approach is to form a tenon on the front of the slip.  Either approach is fine.

The slips are glued and clamped (or cramped for Hayward) to the drawer sides.  I hope you can see (on the left) that the slip is a little proud of the drawer side bottom.  After the glue cures, I plane the slip to be flush with the drawer side.  It only takes a couple of passes with the plane.

P2-7 P2-8

I think a small smoothing plane works well for final fitting of drawers.  Remove enough wood so that the drawer slides easily in the case and then remove no more.  A tight fit looks nice.

With the slips in place, it is time for the final fitting of the drawers.  There should not be much to do since each piece was individually fit to the case already.  Holding drawers while planing can be a challenge.  I clamp boards to my bench that hang over the front edge of the bench.  The drawer then rests on those boards without any required clamping.  It is simple and effective.  To plane the front of the drawer, spread the clamp boards out.  Done.

P2-9

The end of this project is now close enough to smell the Boiled Linseed Oil.  It’s all details from here.  

The drawers need a stop so that when they are pushed in they will not go deeper than the front of the case.  In the image above I’m marking the thickness of the drawer front on the bottom of the case.  I’m going to glue a small slip of wood right behind that line.  It’s thin enough that it will not interfere with the drawer bottom, but it will stop the drawer perfectly flush with the case front.  There are other ways to do this, but this method is very simple and easily adjusted with a rabbet plane.

P2-10

Like I said before, radius or at least soften the edges that can contact the hands of the user.  A spokeshave works great on the inside and outside edges of the drawer sides.

P2-11

With the drawers complete and fitted, I went back to work on the top.  Here I am planing the sub-top because it needed a little flattening.  It didn’t come out as flat as I would have liked, but I made up the difference on the underside of the top.  Remember, when working with hand tools every piece of wood need not be straight/flat/level, they only need to fit nicely and look straight/flat/level.

P2-12

Here I’m finally fitting and trimming the real top.  That overhang will be sawn off and cleaned up with a sharp smoothing plane.  I’ve come a long way from the land of 10,000 decisions.  Next stop, finishing.  I’m too excited to sleep.

Bob Jones

Book Review – Going with the Grain, Making Chairs in the 21st Century

Green_work

I haven’t made much progress on my dresser recently, and it is mostly because I’ve been dabbling in some green woodworking, following the instructions in Mike Abbott’s book, Going with the Grain, Building a Chair in the 21st Century.

Book

This is really more than a book review, it’s also a process review.  The author of this book, Mike Abbott teaches green woodworking courses in a magical woodworking Neverland in the UK and has for many years.  In this book, he has documented exactly how he teaches the art of building chairs from green wood.  And I do mean EXACTLY.  This is a picture book that is detailed beyond any other woodworking source (DVD’s included) I’ve ever seen. This book was designed to show anyone precisely what to do in building a chair with green techniques and why they should.  Typically, I’m far too prideful to follow any published plans too closely, but while reading this book I decided that Mike made his process look so easy that I had to try it just like he teaches it.  He lays out the whole process from the perspective of someone who has no tools and no experience building anything. It starts with the tools required (probably obtained for less than $300) then moves in to building a shaving horse with construction grade lumber.  To his credit, he skipped the token 2 pages on sharpening tools.  He covered that in his other book (Living Wood), and there is tons of sharpening instruction freely available online.


Reading

One day I expect I will build a pretty, hardwood shaving horse.  In the meantime, this version that took me 2 hours to build is no compromise on functionality (only looks and comfort).  I built it 100% to Mike’s specifications, including a hardwood pin, which is the first thing I made using the shave horse.  I’m not publishing a how-to here because that is well documented in his book (you should buy it).

Club

I then turned to the next page and made a club (in the trustworthy hands of my nephew) with a piece of red oak firewood, again following his step by step process. The dabbling that I have been doing now is learning to use my froe and drawknife to make the first furniture project in the book – a footstool.  I thought this simple little stool was beneath me, but I decided that since these green techniques were new to me, I should start with the stool.

Stool_parts

I haven’t finished the stool yet, but I’m close.  Here’s all the pieces that I have so far.  I’m waiting for the rails/rungs to finish drying out so I can knock them into the legs. I rate this book as excellent for how-to instruction and highly recommend it to anyone considering building chairs.  Even if you think you want to saw chairs out of kiln dried lumber, this book is a great source and may convince you to find a fresh cut log instead.

Enough glowing, there are 2 problems opportunities with the book.  First, it was definitely written for woodworkers who love their Queen.  Almost all sources listed are UK based and all dimensions are given in metric (most have conversions given in Imperial).  If you can’t convert units (1 inch = 25.4mm), try Google.  (Apparently a new 2nd edition corrects this.)

One plus for North Americans is easy access to the only proprietary tool he recommends, the Lee Valley 5/8 inch tenon cutter.  So, living in North America actually makes it easier to follow this distinctive teaching.

The second issue is that he generally goes from the tree in the woods to completed chair in a week or so.  Why is that a problem?  Mike “turns” tenons while the wood is very green and plans for them to shrink into ovals (like a naturally wedged M&T).  This is fine and good if you are working with wood that is still dripping wet, but what about wood that is semi-green, or closer to dry?  I’m currently working with some cherry that I quartered a few months ago, and I’ve tried to keep green.  In my experimenting so far, this wood does not shrink up as much as Mike teaches, but he shows what to do in this case.

FYI – I’m working on a modified technique for semi-green wood.  I’ll post it here if it works (and if it doesn’t). After I finish the foot stool, I hope to build a few bar stools for our kitchen and then a spindle back chair (or 6).  Both of these builds are covered in this book in plenty of detail.  I’m really enjoying the process of green woodworking.  There is just something great about dominating a massive log with a wedge and maul, then finessing firewood with a froe and drawknife to yield the pieces needed that makes you feel like you can make anything.  That’s a powerful feeling.

Bob Jones

Thank you, Pinterest

Hook_shelf_1

Thank you, Pinterest, for a constant flood of ideas for cute-sy type projects that the softer side of my household enjoys.  Original design is not a strength for my lovely wife, but she knows what she likes when she sees it and that is where the power of Pinterest shines through. Lindsay regularly shows me pictures of home decor ideas and says, “I really like this, would you build it for me?”  Unfortunately I am compelled to decline most of the time because the projects she finds would either cost too much or just wouldn’t fit in our regular sized house (a high percentage of Pinterest pictures come from Southern Living caliber houses).  But every once in a while she finds something and I get to say, “Yeah, I will do that for you.”

Hook_Shelf_2

Pop projects (from Pinterest or other sites) don’t interest me.  I like to spend my limited shop time building solid wood furniture that needs no stain or paint.  It’s not everyone’s cup of tea, but I’m not building things for everyone. I build things for me.  I expect furniture (or other decor) to be durable, timeless, well proportioned, functional – you get the idea.  Lindsay just likes things that look nice and make her life more comfortable, like most Pinterest followers, I suspect.

I didn’t photograph a proper build-along with the hook shelf, but here is a little guidance for construction.

 Hook_Shelf_3

Drafting with thin sections of wood and a sharp chisel is more fun than pencil and paper.

I based the proportions for this shelf on hooks that I bought from my friends at the woodwork shop.  You can order them from Rockler.  Because I can not cut my own complex molding (yet), I picked up a piece of crown molding from the home center that I figured was about the size that would look right.  I then sawed a few thin sections of wood and played with the pieces to get the dimensions that looked about right (no drafting on this project).

The joinery is not pictured.  I planed a shallow rabbet on the bottom back edge of the shelf to fit the back.  This rabbet makes assembly an easy job – try nailing two boards together like this by yourself and you will see the purpose of the rabbet.  I then nailed the crown molding in place, caulked the joints, and painted with regular household trim paint.  After the paint cured I screwed the hooks in place and hung it on the wall using these neat hangers.  I think the end result looks nice.

Hook_shelf_4   Hook_Shelf_5

I added a detail of hand planed moulding at the bottom and top edges of the shelf board.  I did this loosely based on the instructions in Matt Bickford’s excellent book on the topic.  It’s a great read even for those of us who don’t currently own moulding planes.  The best part is that rounds like this can be made with just a rabbet plane and a little patience.  Notice the facets that are apparent only if you look closely.  That is the sign of making a round surface from a straight edge tool.

Even though Pinterest has a very girly feel, I will confess to visiting the site more than once.  It is a powerful search engine that produces a visual flood of images that are often more relevant than a Google image search.  I dare you to search for something related to furniture building or woodworking.  Search specific terms and you may be surprised at the quality of search results delivered.  Warning – Before browsing, make sure no guys are looking over your shoulder when searching there – they may revoke your man privileges.

Bob Jones

A stable foundation for the Dresser (Part 2)

base_example

It is hard to tell in this picture, but the rails of the base are flush with the sides and front of the (previously built) cabinet.

The most difficult operation in building the base is getting the rails to the correct length.  The rails of the base are supposed to be flush with the case on all 4 sides.  Note to self – Next time use some under or over hang because getting components “flush” is tough.  I sized mine by marking the components in place on the case, but I think there should have been an easier way.

With solid wood construction wood movement must always be considered.  In this instance, the sides of the dresser will expand/contract with the seasons, but the base will not.  If you don’t understand wood movement, here is a great book on the topic.  This movement is allowed by using “buttons” to connect the base to the case.  These are handy little things that screw to the bottom of the case and fit into hidden mortises in the rails.  They are sized such that they clamp the base to the case.  Again, Robert Wearing described these very nicely.  By making the mortises in the side rails larger than the buttons, movement is allowed and the case will last for many years.

I made my buttons from a short, but wide board.

P2-01-Buttons_1 P2-02-Buttons_2

A rabbet plane forms the tongue of the buttons.  After flipping the board, I marked out each button in the row, and drilled the holes for screws.  I used a counterbore for the Lee Valley cup washers that I like so much.  After this step the buttons were freed from the board.

P2-03-Buttons_3

I asked my shop assistant to carefully stack as many buttons as possible.  Careful now…

P2-04-Buttons_4

How many buttons does it take to connect a case and base?  I don’t really know.  Robert Wearing said that it was better to have too many than too few, but I probably went overboard.

All of those buttons needed a home, so out came the mortise chisel again.  With all the practice making full sized mortises, these little ones were fast and easy.  The mortises on the side rails were chopped a little wider than the buttons to allow wood movement.

I chose to form a very large arch on the front rail as the only real decoration in the whole dresser.  It matches the style of the bed and chest of drawers I previously made.

P2-05-Arch-1 P2-07-Arch-3

Drawing this arch was a real challenge.  I tried to use my trammel set, but I needed an arch with a radius of more than 9 feet, so trammels were no match.    I decided to make due with a straight edge and bowed yardstick.  I knew the location of 3 points – the middle and both edges – so I connected the dots with my straightedge.  Then I added a curved line with a bowed straightedge.

P2-08-Arch-4 P2-06-Arch-2

It took a few attempts and free hand work.  More than once I needed to erase my progress and start over.

P2-09-Arch-5

I eventually gave up on the pencil work and finished “drawing” the arch with a saw and rasp.  I’m a big fan of my Gramercy hand cut rasp (10 inch 16 tpi).  Yes, it is expensive.  Yes, I would buy it again.  There is no need to use a spokeshave here because the rasp leaves a surface that is nice enough considering it will never be seen.

P2-10-Glueup-1 P2-11-Glueup-2

Time to get ready for glue-up.

Because the legs are 1/8 inch outset from the case, I chose to finish plane the rails prior to assembly.  I then used tape to make it easy to clean glue squeeze out.  Blue tape works great for protecting the show surfaces.  I glued up the base while it was positioned on top of the case because the main thing is sameness – not squareness.  What do I mean?  If the case and base match, then a small amount out of square will never be noticed.  If, however, the base is perfectly square and the case is not – something is going to look ugly.  With the base in place on the case I adjusted the base to fit the case (feel the rhythm, feel the rhyme).

P2-14-Glueup-5

Clamps are awkward in a glue-up like this.  I use corner spacers (big dowels) and rope.  Pressure is applied by twisting a long stick to get the rope tight.

P2-12-Glueup-3 P2-13-Glueup-4

Once the glue cured, the base was removed and I finish planed the case.  All visible case surfaces were finish planed.  I find the front to be most difficult because of the perpendicular grain directions of the dividers.  Skewing the plane helps to narrow the effective width of the blade.  Work slowly and carefully.  This needs to be done now because planing will not be possible later due to the legs being proud of (sticking out from) the case.

P2-15-Cleanup-1 P2-16-Cleanup-2

Finish plane the legs of the base, too.  This means leveling up the top of the legs and rails and finish planing the show surfaces of the legs.  Use clamps, battons, or stops as needed.

P2-17-Cleanup-3

I don’t care for block planes.  I find bench planes easier to hold.  Here I am softening the corners of the legs with a small bench plane.  I forget what size it was, because that doesn’t matter.

P2-18-Cleanup-4

Just a little more wood to remove.  I added a chamfer to the bottom and top of the legs.   Here I am marking the chamfer out all the way around the bottom of the leg.

P2-19-Cleanup-5 P2-20-Cleanup-6

Making a short chamfer is easy work with a wide and sharp chisel – easier than with a block plane for sure.  Keep your hands in contact with the leg to increase control.  See the curly shaving?  That is a sign of a sharp chisel that is in control.  The resulting chamfer is clean and sharp.

P2-21-Assemble-1 P2-22-Assemble-2

I put the base back on the case and marked the screw hole locations for the buttons.  I think everyone knows this technique for hole location marking, but I’ll repeat for good measure.  Put the button in place, insert a drill bit through the screw hole, tap the bit with a hammer, expand the indention with an awl (if you choose).  Hole located.

P2-23-Helpers

That’s all folks!

It is finally time to install the base.  Sorry, no picture of the assembly because I could not get a good photo of this big piece in my small shop.  I’ll work that out before the next installment.

Bob Jones

A stable foundation for the Dresser (Part 1)

The process of constructing the base I’m building now is very well described of one of my favorite woodworking books, “The Essential Woodworker” by Robert Wearing. His book makes any additional writing completely unnecessary and redundant so I should stop this post right here, but because that pivotal text has not stopped the 1,000’s of books and articles on the topic since it was published, it will not stop this blog entry either.

base_example

My previous project – the base of the dresser will hopefully look like this.

The base will have 8 pieces in total; 4 legs and 4 rails.  The components will be joined by mortise and tenon, which is a fun joint to make with chisels and saws.  I don’t understand the barrage of products available to make a square hole in a piece of wood.  Making a mortise with a good chisel is fun and “easy” with good technique and a little practice.  I’ve gotten ahead of myself – let’s go back to the start.

The legs are about 2 inches square.  I laminated the legs from 1 inch thick stuff because I wanted all the visible wood to come from the same tree and I didn’t have any thicker stock.  Laminating pieces this small is not very fun with planes.  I did my best to get the laminated surfaces dead flat such that the two pieces do not rock when stacked together.  I took extra effort to arrange the pieces in a way that the grain flows like a solid piece.

Work the legs and rails to the right sizes.  Leave about an inch of waste on the top of the legs to be sawn away after the mortises are chopped.  I sawed tenons first and then chopped the mating mortises, but I don’t think the order in M&T stirs nearly the controversy as Tails or Pins first dovetails, so pick your pleasure.    Here are a few pictures of the process.

Base_Tenon_1

Mark out the tenons however you like.  I use my Veritas wheel gauge with the mortise wheels, plus a 6 inch square with a knife to mark the shoulders.  Notice one shoulder (the inside) is thin.  This is perfectly ok.  You really do not need an inside shoulder at all.  The important distances are the outside shoulder depth (which controls the rail offset from the leg) and the tenon thickness.  This technique saves time because all of the rails need not be the same thickness.

Base_Tenon_2

Here I am preparing for a “second class saw cut” (according to Robert Wearing) by notching the lead in corner with a chisel to give the saw an accurate place to start working.  You may also notice the kerfs for the tenon shoulders – I like to crosscut my tenon shoulders first.

Base_Tenon_3

For the tenon cheeks – saw the diagonal corner – then flip and repeat from the other diagonal – then finish straight across the tenon like I am here.  Remember to saw on the WASTE side of the line.

Base_Tenon_4 Base_Tenon_5

I lopped off the ends of the tenon with a chisel – it’s faster than rip sawing and more fun.  One well placed blow takes care of 90% of the waste, then I remove the last 10% with more caution.

Next I make a square hole with a chisel.  I think body positioning helps with accuracy, but I don’t recall reading this anywhere else.  Rather than flinging your arms around, try manipulating the chisel with your whole body.  I think it helps keep things straight.

Base_Mortise_1

Use hand pressure to push the mortise chisel just into the wood to define the mortise.

Base_Mortise_2

I’m sighting down the edge of the workbench and the chisel to keep the chisel and hole vertical.

Don’t be scared to smack the chisel.  Old pictures (really old) show joiners standing straight up and holding a mallet over their heads.  If that is really what they did then they made an impact!

I use the “down and back” mortise technique.  I start at one end and remove very little in the first plunge.  I go down the length of the mortice and the depth at the same time.  By the time I am to the far end, I am also at the full depth.  I then work my way back the the end where I began.

Base_Mortise_3  Base_Mortise_4

Clear the waste after every plunge.  The “right” way to do this is lever the waste forward (into a void) and then pull back on the chisel to lever the chip(s) out.  Notice how my whole body is moving forward and back.  I’m not pushing very hard, but I think this helps keep the chisel straight compared to just moving my arms.

Base_Mortise_5

The more mortises I chop, the more aggressive I get.  Here is a shot of the waste that was removed in a typical plunge.

Base_Tenon_6  Base_Tenon_7

I trial fit each M&T separately.  If the joint is too tight, the easy thing to do is thin the tenon with a router plane.  Notice I’m using downward pressure over the rail – not the side where it is unsupported.  After the tenon fit to my satisfaction, I chiseled a small chamfer around the tenon edges.  You should be able to do this by hand (no block plane required).  If you can not do this by hand then sharpen your chisel and practice!  This skill will make things easier later – but you’ll have to wait ’til my next post to understand that.

Bob Jones

Dresser – Rails and Runners

Slow and shaky work continues on the dresser.  Here are some highlights from the next stage of the build – fitting the internal parts (rails and runners).

Drawer_runner-1

Here is the goal for this step; a nicely fitted rail into the case side.  How do you get here?  It starts with a saw.

Drawer_runner-2 Drawer_runner-3

By now you should know how to size boards and prep them for joinery (4 square).  Saw one end of your rail square and “shoot” it to perfection, if you like.  I like my Lee Valley Bevel Up Jack Plane for this purpose.  That is about the only time I use this plane, because I generally prefer bevel down.

Drawer_runner-4

Using the end of the rail that you just made square, trial fit the rail into the dado.  Don’t expect all of the dados to be the same size, because they were cut by hand. Fit each rail into it’s home (dado) and keep up with the correct location and orientation of each piece.

Drawer_runner-7

If the rail is too thick to fit, I use a fine set plane to knock the end off until it fits.  Use this method if you are off less than 1/16 inch; if you are off more than that, consider sawing something (the board or the dado).  To me, this is easier than opening up the dado.

Drawer_runner-5 Drawer_runner-6

Once the first end fits into it’s dado, slide it in and mark the correct length of the rail on the other end.  Notice I’m marking the end from inside the case. That makes line #1 in the picture above.  I don’t saw to that line, because that is too risky.  I make the rail a little longer and saw to that length (line 2).  I then “shoot” the rail to the perfect length, checking the fit every few passes.  The shooting plane allows very fine adjustments, which makes it easier to get a perfect (fingers crossed) fit.

Drawer_runner-8

Plowing a groove in a runner to accept a dust panel.  The panel is optional, but it’s a nice touch.

Behind the rails go the runners.  Those are the pieces that “run” from the front to back of the case and are the slides for the drawers.  My runners are quarter-sawn white oak.  There is no need to buy QS stock; I bought a flat-sawn 8/4 (2 inch thick) board and made my own QS runners with my bandsaw.

Fit the runners into the dados by the same process as the rails.  Remember to leave the runners long enough to have a tenon on each end that will go into a shallow mortise in the front and back rails.

Drawer_runner-9

Sawing the shoulders for the tenon on a rail.

Feeling lucky?  Here is a fun way to make tenons for the runners.  When the tenon is relatively short and the board has fairly straight grain, you can chop it out with a chisel faster than sawing.  First, saw the shoulders with a crosscut saw.

Drawer_runner-10 Drawer_runner-11

No need for a rip saw.  Once you saw the shoulders, the tenons can quickly be freed with a chisel and a mallet.  Examine the grain direction to avoid removing your tenon – the split created by the chisel will follow the grain!  A wide chisel is nice to have for this step.

Drawer_runner-12

Trial fit the runner into the rail.  The groove for the dust panel is only 1/4 inch deep, and the mortise in the rail (inline with the groove) 1/2 deep, so the runner is constrained and will not slide in the groove.

My back rails are cypress.  This swamp tree is perfect for a non-wear surface that does not show because it is relatively cheap, easily worked, and easy to find (in Memphis).  It is my secondary wood of choice when wear resistance is not needed.

Drawer_runner-14 Drawer_runner-13

Before you glue up the insides, counterbore and drill holes through the sub-top for the screws that will eventually be used to secure the top.  I like these little cup washers from Lee Valley.  They “convert” a regular countersunk screw into one having a flat behind the head.  I think it is less likely to split the wood and should allow wood movement with less resistance.  At least that is what I tell myself.

Drawer_runner-15

Check the fit of all rails and runners before applying glue.  I glued the front rails to the case sides, not the back rails because the sides of the case need room to move.  Sorry, I forgot to take pictures with the clamps on.  Yes, I used 1/4 inch plywood (gasp) for the panels.  I don’t care that it is not traditional.  As a panel, plywood is an excellent use of materials and saves time.  Feel free to make solid wood panels for your hidden components that are not structural.

Next up, the frame and panel back (and a little more plywood).

Bob Jones

Hand Plane Class this Monday (Jan 23, 2014) in Memphis, TN

CB-6-long_grain

I’m glad to say that the woodwork shop invited me back for another Monday evening hand plane class.  We will cover sharpening (grinding and honing), tuning, and using bench planes.  The last class was a big success and we had a lot of fun, and I’m hoping this one will be even better.

grinder_class   hand-grinder

I think the most useful part of the class is hands on practice grinding plane blades.  If you can not grind you will never be able to sharpen. I will bring my hand crank grinder and everyone will get a turn.  Its safe, its fun, and I will need an assistant.  We will cover and demonstrate sharpening from start to finish.  By the way, this sharpening method works for chisels, too.

Why pay $35 for a class?  Four hours of hands on instruction, hands on practice, personal plane inspections, and if we get at least 6 new participants I will give away a free, functional bench plane.  It needs some work, but you will know how to tune it up yourself.  As an added bonus, attendees only pay for the class once.  Anyone can come back free of charge as many times as I teach it.  I hope we will get some return students so you can impress the new ones with your hand plane skills!

If you would like to get the most from the class, I suggest you check out the pre-reading.  And if you do come, please let me know what you think about the blog.

Hope to see you at the woodwork shop!

Bob Jones